How to Find Gold in Your State: A Beginner's Complete Guide to Public Land Prospecting
Gold prospecting is one of the last great American adventures — and the good news is, you don't need to be a geologist or spend thousands on equipment to get started. Public lands across the United States hold more gold than most people realize, and with the right knowledge, any beginner can head out and find real gold on their very first trip.
This guide covers everything you need to know: where to look, what tools to bring, how to read a river for gold deposits, and how to stay legal on public land.
Why Public Land Prospecting?
The United States has more publicly accessible land than almost any other country — over 640 million acres managed by agencies like the Bureau of Land Management (BLM) and the U.S. Forest Service. On most of this land, recreational gold prospecting with hand tools is legal, free, and open to anyone.
Where Is Gold Found?
Gold-Bearing States
The most productive regions for recreational prospectors include California, Colorado, Arizona, Nevada, Alaska, Oregon, Idaho, and Montana — all with active prospecting communities and proven public land access.
Reading a River for Gold
Gold is roughly 19 times heavier than water, which means it settles predictably. Focus on these key locations:
- Inside bends — current slows here, dropping heavy material including gold
- Behind large boulders — hydraulic shadow zones trap gold
- Bedrock cracks and crevices — gold sinks to bedrock and packs into fractures
- Confluence points — where two streams meet, turbulence drops heavy material
Essential Tools for Beginners
The Gold Pan
A 10–14 inch dark plastic pan is the foundation of every kit. Dark colors make gold easy to spot. Modern plastic pans are preferred over steel — they're lighter and don't rust.
The Classifier
A mesh classifier fits over your pan and removes large rocks before panning, dramatically speeding up the process.
Sluice Box
A 24–36 inch folding sluice processes large volumes of material quickly. Water flows through riffles that catch gold behind them — a major upgrade from panning alone.
Supporting Tools
A hand trowel and rock pick for crevicing, and a snuffer bottle for recovering fine gold from your pan round out the essential kit.
How to Pan for Gold: Step-by-Step
- Select a sample spot — inside bends, bedrock crevices, or downstream of natural traps
- Classify your material — screen out large rocks
- Submerge and agitate — get gold sinking to the bottom
- Wash off the top — tilt slightly and use a circular motion to remove lighter material
- Reduce your material — keep washing until you have a small tail of black sand
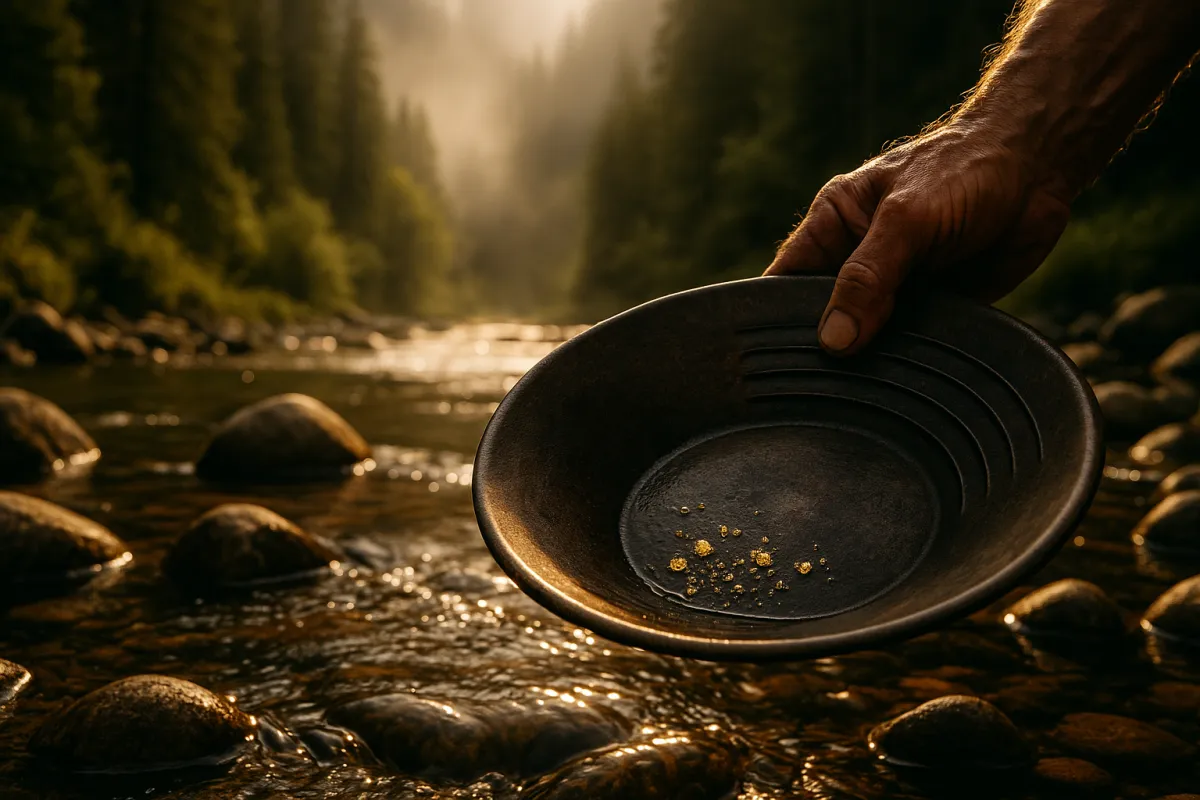
- Check for gold — in good light, tilt and gently swirl to reveal yellow flakes
- Recover your gold — use your snuffer bottle
Understanding Black Sand
Black sand (magnetite and hematite) is heavy like gold, and the two almost always travel together. Black sand concentrations are your best indicator that gold may be nearby — though you still need to be in gold country.
Know the Rules Before You Go
Public land prospecting rules vary by agency. In general: BLM land allows hand tool prospecting without a permit; National Forests usually allow hand tools but may require permits for motorized equipment; State Parks and National Parks typically prohibit prospecting entirely. Always verify with the local land management office before heading out. See our full Gold Prospecting Laws Guide for a complete breakdown.
Your First Trip Checklist
- ✅ 10–14 inch plastic gold pan
- ✅ Classifier screen
- ✅ Small folding sluice box
- ✅ Hand trowel and rock pick
- ✅ Snuffer bottle and gold storage vial
- ✅ Waterproof boots or waders
- ✅ Printed topo map
- ✅ Water, sunscreen, and snacks
- ✅ Confirmed land status and regulations
Want a complete gear list, topo map reading guide, and state-by-state gold location data? Check out our Gold In Your State resources to go further, faster.
